How to Download Uploaded Content in Mailchimp
(This mail contains chapter links. Read my full disclosure.)
The most pop email list building communication is to entice potential subscribers with a free download. But one time you've figured out what your freebie is going to be and have your PDF all fix, you lot're stuck trying to effigy out where to upload and link your file and so that your subscribers will become it automatically (and no 1 else volition be able to notice it without subscribing). Worse still, when you lot start reading most MailChimp's options, y'all get confused about what yous need and how to set up it upwardly.
Simply never fear, MailChimp makes it easy (and free) to give a download to your subscribers (and only your confirmed subscribers!).
(ConvertKit makes information technology even easier, if you're interested in switching to a paid email service. MailerLite is an first-class free option that–unlike MailChimp–doesn't accuse you lot for your unsubscribed contacts. Click here for my comparison of MailChimp vs. ConvertKit.)
Only first, permit's make sure your freebie is fix. Click here for a few reminders to go on in mind while preparing your freebie.
Now that y'all have your free download or printable all ready, it's time to decide at what indicate you are going to give each new e-mail subscriber their freebie.
There are at least three places you tin include your gratis download link with MailChimp:
ane. Automation
An Automation sends an electronic mail based on a trigger–i.e. a user subscribing to an e-mail list or joining a group. Using an Automation, y'all can create a completely custom electronic mail that is sent immediately upon subscription.
Now that MailChimp allows gratis accounts to use Automation for a single electronic mail, an Automation is the only method I utilise and recommend for giving a free download to your subscribers.
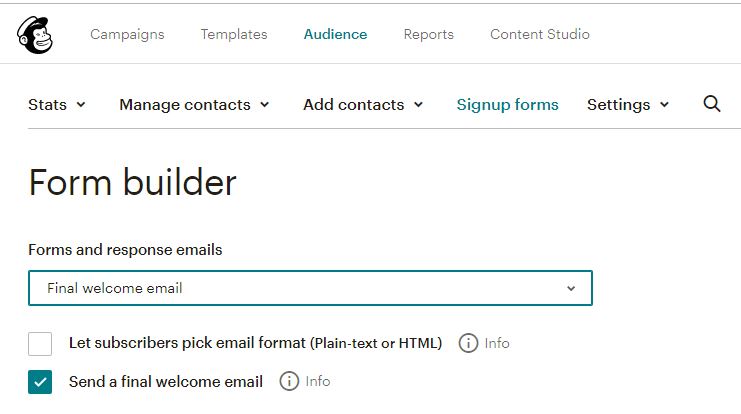
two. Final Welcome Email
If yous plough it on, the Final Welcome Email volition be delivered to their inbox equally shortly as they click the confirmation link–like an Automation email. Unlike an Automation email, you lot have little command over the layout of the Concluding Welcome Email.
Due to the fact that you lot can't control the entire contents of the Last Welcome Email, I recommend an Automation for a more personal approach that is more probable to state in inboxes.
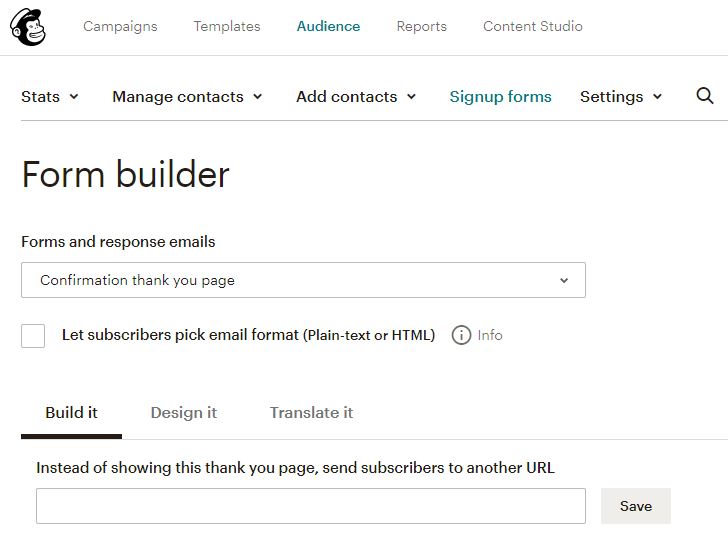
3. Confirmation Cheers Page
The Confirmation Give thanks You Page is the page your subscribers will exist taken to the moment they click the link to confirm their subscription. The download link can be included in the MailChimp Give thanks You Page or you can redirect subscribers directly to the download link. However, they cannot easily become back to this link. So if they don't download the freebie right then, they won't be able to access it again later. Even if you do include the link hither, consider using an Automation or Final Welcome Email to send them the download link again for later use.
My recommendation is that you utilise the Confirmation Thank You Folio to tell your subscribers to go look in their inbox for the gratuitous download. Explicate that if the don't run across it, they should cheque their Gmail "Promotions" Tab or their Spam folder. Considering giving them the sending address and discipline line to look for.
How to Use a MailChimp Automation to Give a Free Download to Your Email Subscribers
(This tutorial assumes y'all already have a MailChimp account and take fix upwardly an electronic mail list. If not, check out How to Create & Build an Email List.)
one. Login to MailChimp and click Campaigns.
Go straight to https://us6.admin.mailchimp.com/campaigns/ or click "Campaigns" in the top menu bar.

2. Click "Create Entrada" button
3. Choose "Email".
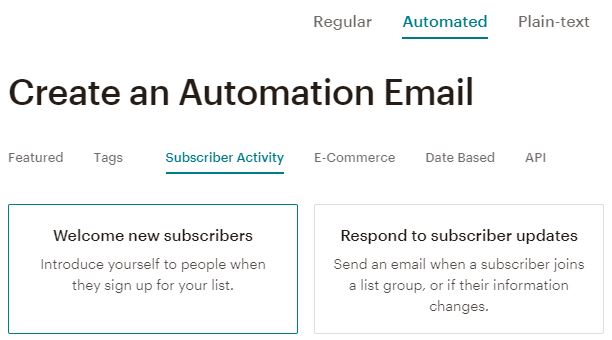
4. Cull "Automated," "Subscriber Activity," "Welcome new subscribers."
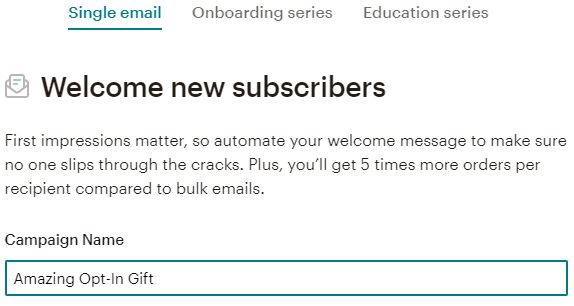
5. Name your single email campaign.
vi. Select your list.
Automations are list-specific.
7. Click "Begin."
8. Click "Edit Subject."
Utilise an engaging discipline but avert the use of the give-and-take "free"–and other spammy words–if you tin can. Use the "Preview Text" to include more than details.
9. Click "Edit Design."
Before you start composing your email, have the opportunity to cull a different email template if you'd like.
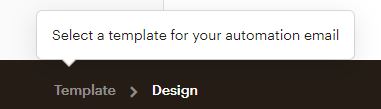
Select your template of choice and click "Change Template."
ten. Pattern and edit your email campaign.
Hover over the current/automatic content in your pattern and click the "Edit Cake" push button (a pencil with a line nether it). The content editor will announced at the right of your screen.
Blazon something like "Click here to download your costless printable" and so highlight the text you've just typed.
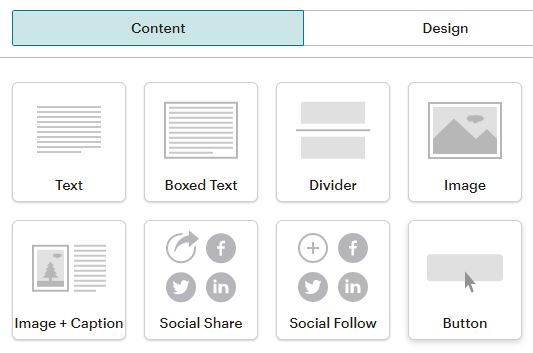
Tip: Y'all may too elevate and drop a "Button" block into your email campaign to describe more attention to your download. Follow the steps below to link the button to your file.
11. Upload the file.
With your text highlighted, click the "Link" push. (Or, if yous're using a button cake, simply hover over the button to edit information technology.)
Choose "File" from the "Link to" drop-down menu if you have a file to upload to MailChimp.
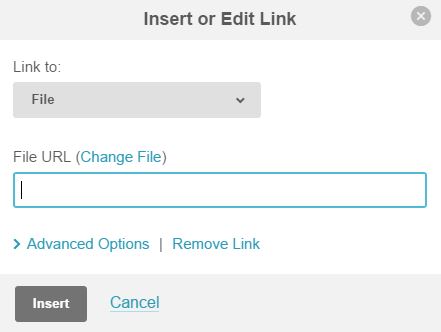
Upload your file (or select it from the list if you've previously uploaded it to the MailChimp File Manager).
Tip: You may also choose "Web address" from the "Link to" drop-downwards if you need to link to a very large file, similar a podcast or sound file. Just be sure to utilise a tool like Dropbox rather than uploading the file to your own site where information technology could more than readily be establish/shared.
- Zip the file(southward) if necessary to compress file size.
- Utilise Dropbox to share larger files. (That link is my referral link and will go yous bonus Dropbox space!) Change the 0 at the end of your share link to a i to force download rather than Dropbox display.
12. Click "Insert."
Once you lot've returned to the "Insert or Edit Link" window, click "Insert" to insert the link right into the text you'd highlighted.
13. Click "Save and Close."
End editing your email campaign. Be sure to click "Save and Shut" afterwards y'all've finished editing each block.
14. Click "Save And Proceed."
When you've previewed and tested your entrada to your satisfaction, click "Save and Keep" to consummate the setup.
15. Confirm your "Sends To" settings and click "Start Sending."
"Sends To" should say "New contacts immediately after they join…"
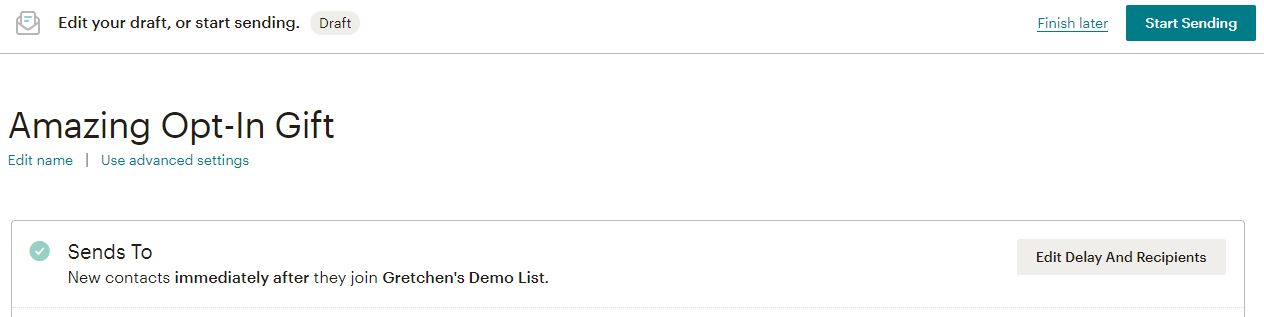
Click "Commencement Sending" if you're satisfied with your settings.
16. Test your signup process with an different electronic mail address.
There's no better way to spot snags in your sign-upwardly process by experiencing it yourself. Use a dissimilar e-mail address from your "from" email address–or your spouse'south or friend's electronic mail address–to test your signup form process from commencement to end.
Click the confirmation links, download your freebie, and impress it. Make certain the process feels seamless to you!
Reply to yourself and see what replies from your subscribers will await like.
You did it!
Now, that wasn't and so difficult, was it? And it was even free!
(Of class, if you run into problems or would rather take someone else practice it, you tin can always hire me.)
Prefer to use the Final Welcome Electronic mail?
Hither are directions from MailChimp:
- Enable the Last Welcome Email
- Send a File to New Subscribers
Exist certain "Send a final welcome e-mail" is checked.
Prefer to use the Confirmation Cheers Page?
Follow MailChimp's directions on how to Host Your Own "Thank you" Page, but choose "Confirmation thank yous page" from the drop-downward. At that point, you tin can include the download link on the MailChimp thank you pageorredirect subscribers to the download link immediately by entering information technology in the box to "ship subscribers to another URL".
Want to make certain existing subscribers can grab the freebie?
Identify the freebie link in the "Update Profile Form" or redirect to the freebie in "Update Profile Cheers Folio." So, when an existing subscriber enters their electronic mail address in the subscription form, they volition get a message saying that they are already subscribed simply can update their subscription preferences. They volition get a "Profile Update E-mail" (that y'all can't edit) with a link to click to update their subscription. In one case they click that link, they will see the (editable) "Update Profile Form" where yous can include the freebie link.
Need more than i freebie?
Use Groups + Automations to trigger a new automation each time someone joins a group.
What freebie are you offer to your subscribers? Cheque the comments for all sorts of ideas–and please, share your freebie idea besides.
Desire more MailChimp tips? Visit my Ultimate Guide to Newsletters & Email Lists.
And don't forget to bank check out the comparing of MailChimp, Mad Mimi, and ConvertKit.
Source: https://gretchenlouise.com/free-download-mailchimp-email-subscribers/
0 Response to "How to Download Uploaded Content in Mailchimp"
Post a Comment